
Table of Contents
ToggleWoodworking doesn’t require a three-car garage or a five-figure tool collection to get started. Whether you’re hanging shelves, building a deck, or tackling furniture projects, having the right woodworking tools on hand transforms what feels impossible into “I can actually do this.” This guide walks through the essentials every homeowner should own, the tools that earn their shelf space through repeated use, not the ones gathering dust after one project. We’ll skip the hype and focus on what actually works.
Key Takeaways
- The best woodworking tools for beginners include essential hand tools (tape measure, combination square, chisels, planes) and a versatile cordless drill-driver, which together form a practical foundation for most DIY projects.
- Invest in quality hand tools that demand precision—like chisels and planes—while choosing mid-range power tools initially, as dull or low-quality hand tools cause more frustration than budget-conscious power tool choices.
- A foundational toolkit of hand tools, drill-driver, one saw, sander, and safety gear costs $600–900 built gradually over two to three months and covers interior shelving, furniture assembly, deck work, and finish restoration.
- Safety equipment (eye protection, dust masks, hearing protection, gloves, and boots) is non-negotiable because sawdust and spinning blades pose real injury risks that grow worse with fatigue or rushing.
- Rent or borrow specialty tools like table saws, thickness planers, and mortisers for one-off projects rather than buying them, as most weekend DIYers don’t justify ownership for occasional use.
- Shop strategically by reading user reviews, avoiding ultra-budget brands, and considering secondhand tools from estate sales—quality matters more than brand names when building a workshop you’ll rely on.
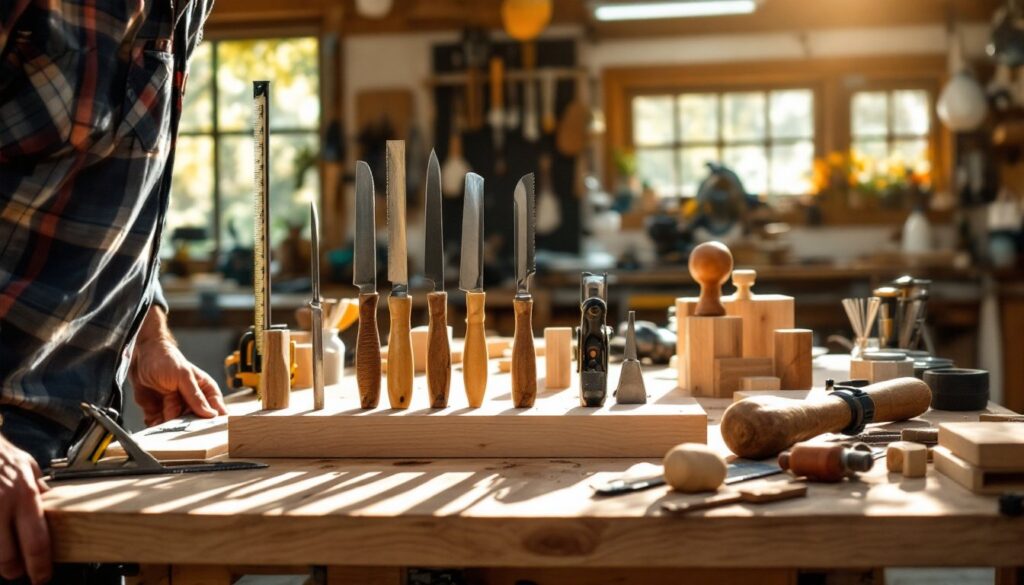
Hand Tools Every Woodworker Needs
Hand tools are the foundation of any workshop. They’re reliable, quiet, and they don’t need charging when you’re halfway through a mortise.
Measuring and marking tools come first. A 25-foot tape measure with a 1-inch blade handles most interior projects: go wider (1.5 inches) for exterior work where wind matters. A combination square sets 45° and 90° angles and doubles as a depth gauge, invaluable for laying out joinery. Pair it with a pencil and marking knife: the knife scores crisp lines for crosscuts, while pencil works for rough layout.
Saws handle different cuts. A handsaw (crosscut saw, 10–12 points per inch) cuts across grain cleanly: a coping saw turns corners in curves and interior cuts. Neither replaces a power saw for speed, but both are faster than powered alternatives for single cuts and trim work. A Japanese pull saw (single or double-sided) cuts faster than Western handsaws with less effort, try one if you work with hardwoods frequently.
Chisels shape joints and clean up edges. A basic set includes 1/4-inch, 1/2-inch, 3/4-inch, and 1-inch bevel-edge chisels. Avoid the cheaper sets with ten chisels you’ll never touch: quality matters here because a dull chisel frustrates faster than a broken one. Expect to spend $15–25 per mid-range chisel.
Planes flatten surfaces and trim edges to size. A No. 4 smoothing plane handles everyday work (flattening a board edge, surfacing rough lumber). A block plane smooths end grain and chamfers. Again, quality saves frustration, a sharp plane glides: a dull one binds and burns wood.
Clamping and holding tools keep work steady. C-clamps (2-inch to 6-inch) cost $5–15 each and handle edge gluing and assembly. Bar clamps (24- to 48-inch) span wider assemblies. A workbench vise ($40–150) bolts to the bench and holds pieces while you chisel or saw. Most DIYers underestimate clamping, properly secured work means safer, straighter, faster results.
Round out hand tools with a rubber mallet (tapping chisels and joints without damaging), a claw hammer (15–20 oz for finishing nails), screwdrivers (Phillips and flat-head in two or three sizes), adjustable wrench, and a hand drill or brace if you work without power tools. These don’t seem glamorous, but they cover 80% of real project moments.
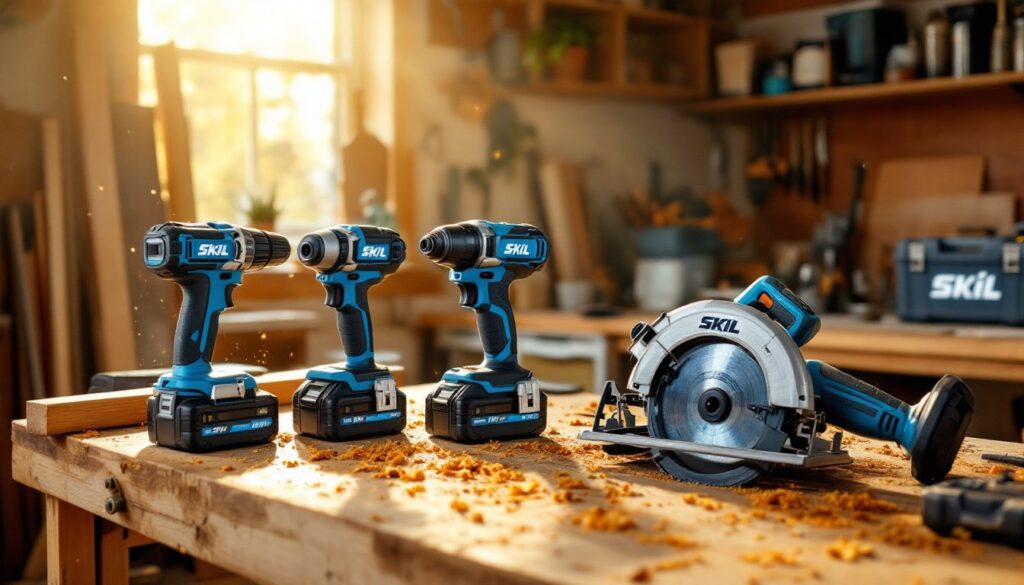
Power Tools That Save Time and Effort
Power tools aren’t essential for small projects, but they shrink timelines and reduce physical strain. Start with a few versatile machines.
A circular saw ($60–150) cuts straight lines fast and handles angled cuts on a miter guide. It’s portable, affordable, and works both on a bench and for framing rough work. The trade-off: less control than a table saw, and kerf width varies with blade quality. A miter saw ($100–400) cuts angles cleanly for trim and frames: if you’re building cabinets or crown molding, this pays for itself in accuracy alone.
A table saw ($200–600 for mid-range models) rips boards to width and crosscuts with fences guiding every cut. It’s the workshop centerpiece for serious woodworking, but only add it after you understand kickback safety and have room for outfeed space. Never rush a table saw purchase: rent one first if you’re unsure.
A drill-driver ($40–120) bores holes and drives screws. Corded models offer constant power: brushless lithium-ion batteries last longer and run lighter. Most homeowners choose a cordless combo kit (drill-driver + impact driver + 2 batteries + charger) for $100–180, the impact driver twists fasteners without hand strain.
A jigsaw ($50–150) cuts curves and interior shapes that a circular saw can’t touch. Orbital mode speeds scrollwork: single-stroke precision mode handles delicate detail. Pair it with fine-tooth blades for finished edges.
Sanders speed surface prep. An orbital sander (5-inch or 6-inch) removes paint and roughness: a detail/mouse sander reaches corners and edges. Together they’re $80–200, worth every penny because hand-sanding a bedroom wall burns hours and shoulders.
Tools like band saws, thickness planers, and mortisers enter the conversation once you move beyond basic projects. Rent or borrow these initially: most weekend DIYers don’t justify owning them.
Safety Equipment and Workshop Essentials
Safety gear isn’t optional. Sawdust irritates lungs: spinning blades injure hands: dust in eyes blinds temporarily. Build the habit from project one.
Eye protection ($5–20 for safety glasses, $15–40 for a full-face shield) stops flying debris. Wear them every time a tool runs. Hearing protection ($2–40 per pair, depending on style) reduces risk of hearing loss near circular saws, planers, and drills running all day. Dust masks come in disposable ($0.50–2 each, N95 rated for woodworking) and reusable half-masks with replaceable cartridges ($20–50 initial cost). Disposable masks work for light sanding: serious dust (sanding a hardwood floor) demands a half-mask.
Gloves vary by task: nitrile gloves ($5–15 per box) for handling finishes, leather work gloves ($10–20) for rough handling, and close-fitting gloves for detail work (avoid loose gloves around spinning tools, they catch). Steel-toed boots ($50–120) protect feet: drop a board on a sneaker and you’ll understand the cost immediately.
A first aid kit ($15–30) belongs in the shop. Fire extinguisher (ABC-rated, $15–25) handles wood dust and finish fires. Shop towels and rags cost little but get used constantly. Drop cloths ($10–30) protect floors when finishing.
Your workspace needs adequate lighting (clip lamps, LED shop lights, $20–60 total), stable work surface (workbench, sawhorses, or sturdy table), and tool storage (wall pegboard, toolbox, shelving) to prevent tripping hazards. A disorganized shop hides injuries waiting to happen. Cleanliness costs nothing except attention: sweep regularly, clean up oil and finish spills immediately, and know where every tool sits.
Many woodworking injuries result from fatigue or rushing. Take breaks, stay hydrated, and never operate power tools when exhausted or angry. A 10-minute rest beats a hospital visit.
Choosing Quality Tools on a Budget
Budget tools rarely disappoint when you pick the right category. A cheap circular saw works fine for occasional cuts: a cheap chisel frustrates constantly because dull edges don’t hold. Invest in hand tools that demand precision: accept mid-range power tools initially.
Brand names matter less than warranty and reviews. DeWalt, Makita, Milwaukee, and Festool command premium prices but back their tools. Craftsman, Rigid, and Ryobi offer solid mid-range options with good support. Avoid ultra-budget brands (under $20 for power drills, under $5 for chisels) unless you’re testing a category before upgrading.
Buy gradually. Starting with a handful of quality hand tools costs $150–250 total. Add a drill-driver next (~$80–120). Then a circular saw. This approach spreads cost and lets you learn each tool’s limits before moving to the next one. Buying a complete set upfront often means buying things you don’t need.
Secondhand and rental options stretch budgets further. Estate sales and pawn shops turn up vintage tools that, when cleaned and sharpened, outlast new imports. Rent specialty tools, table saws, thickness planers, tile saws, for one-off projects. Many tool rental outlets charge $15–50 per day, undercutting purchase prices after a few uses.
Don’t confuse cheap with budget-conscious. A $35 drill that lasts two years of weekend use is smarter than a $90 drill that fails after two months. Read user reviews: avoid returns: buy from retailers with real support.
Building Your First Woodworking Toolkit
Begin with essential hand tools: a 25-foot tape, combination square, pencil, crosscut handsaw, chisel set (1/4″ through 1″), a smoothing plane, two C-clamps, rubber mallet, claw hammer, and screwdrivers. Spend $200–350 here and avoid cheap sets.
Add a cordless drill-driver ($100–150). This single tool opens dozens of projects. Choose lithium-ion, 18-20 volt, with a 1/2-inch chuck and variable speed. The ergonomics matter for all-day comfort: hold one before buying.
Second purchase: circular saw ($80–150) or miter saw ($120–300), depending on your first planned projects. Framing and deck work favor circular saws: trim and interior projects favor miter saws. Resources like Tool Usage Tips break down specific tool choices by project.
Third: orbital sander ($80–120). Prep work determines finish quality more than technique does. An orbital sander cuts sanding time by half.
Round out the kit with basic safety gear: glasses, dust mask, gloves, hearing protection, shop towels, and a workbench vise ($40–80). A simple sawhorse pair ($30–50) works if building a dedicated bench isn’t feasible.
This foundational toolkit, hand tools, drill-driver, one saw, sander, and safety gear, totals roughly $600–900 invested over time. Most DIYers can build it over two to three months. You’ll complete interior shelving, basic furniture assembly, deck work, and finish restoration. For those seeking more detailed advice on tool selection and workshop setup, the Tools & Workshop Archives at Hearthlivingmakers cover topic-specific guidance.
Consult external resources like Family Handyman for project-specific tool guidance and Today’s Homeowner for seasonal repair checklists that outline which tools matter for each task. As you progress, your toolkit expands naturally, each project reveals what you’re missing.
Conclusion
The best woodworking tools are the ones you’ll actually use. Start with quality hand tools and a versatile power drill, add saws and sanders as projects demand, and never skip safety gear. Your workshop grows with confidence and real needs, not magazine spreads or salesman recommendations. Measure twice, cut once, and invest in tools that respect both your safety and your time.